
It was a busy weekend at our house! I tackled two home ownership projects. Here’s how they went—and what I learned.
Replacing the Dishwasher
Back in September, our dishwasher started acting up. It would randomly pause itself and immediately restart. At first it was occasional, but the problem gradually got worse. Eventually, it was happening frequently enough that I started looking into the extended warranty. I had to laugh when I saw the coverage had expired—just three days earlier.
I called a local appliance shop to see about getting it serviced, but they didn’t have anyone who works on Samsung dishwashers. The woman I spoke with was incredibly helpful, though. When I described the issue, she immediately asked if we were using Cascade detergent with Dawn. Apparently, that combination has been causing issues—too many suds in the drum, which these machines aren’t designed to handle.
Sure enough, we were using that exact detergent. She recommended running a few rinse cycles and switching brands. After two rinse cycles and a full wash with just vinegar, the issue mostly cleared up.
But a few months later, it started happening again—and got progressively worse. This past week, it was so bad that the dishwasher took an hour to progress five minutes. It was basically useless.
To Repair or replace?
I’m usually the type to try and repair things before replacing them—especially something less than four years old. I made several more attempts to fix it, based on what I could find online, but nothing worked. At that point, it seemed likely the issue was with a faulty component. If it was the control board, the part alone would run $150–$200. Add in a service call and labor, and the total cost would be nearly the same as just buying a new one.
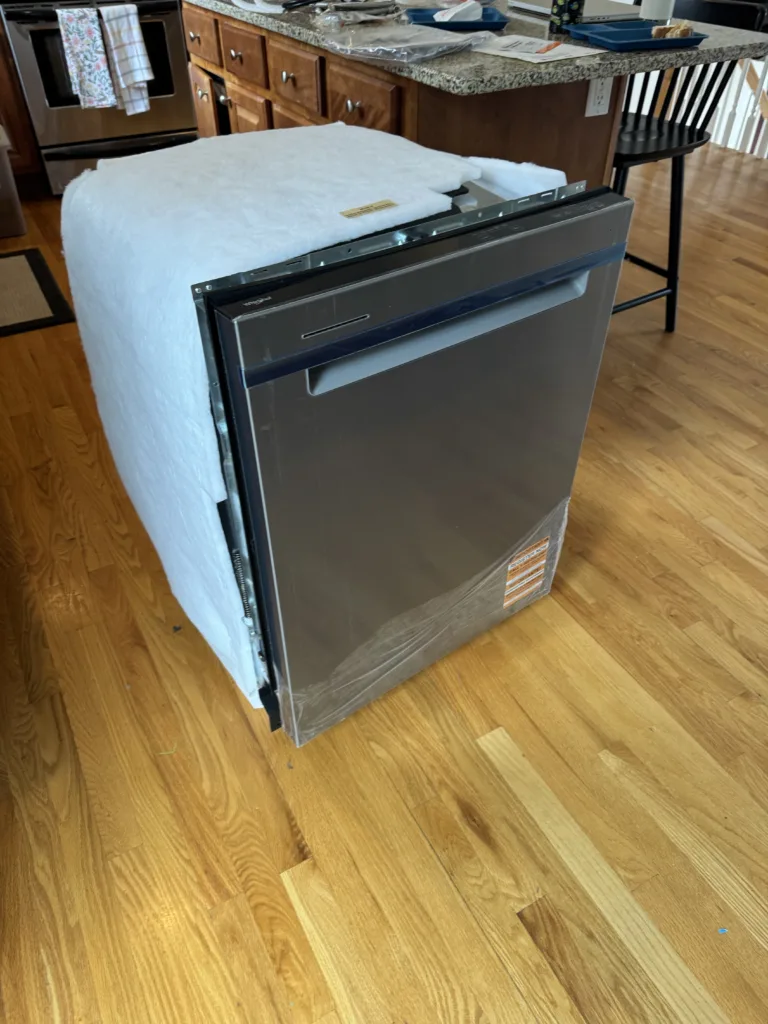
So we decided to replace it. After some research and YouTube tutorials, I decided to install it myself. One video even showed someone installing the exact model we bought.
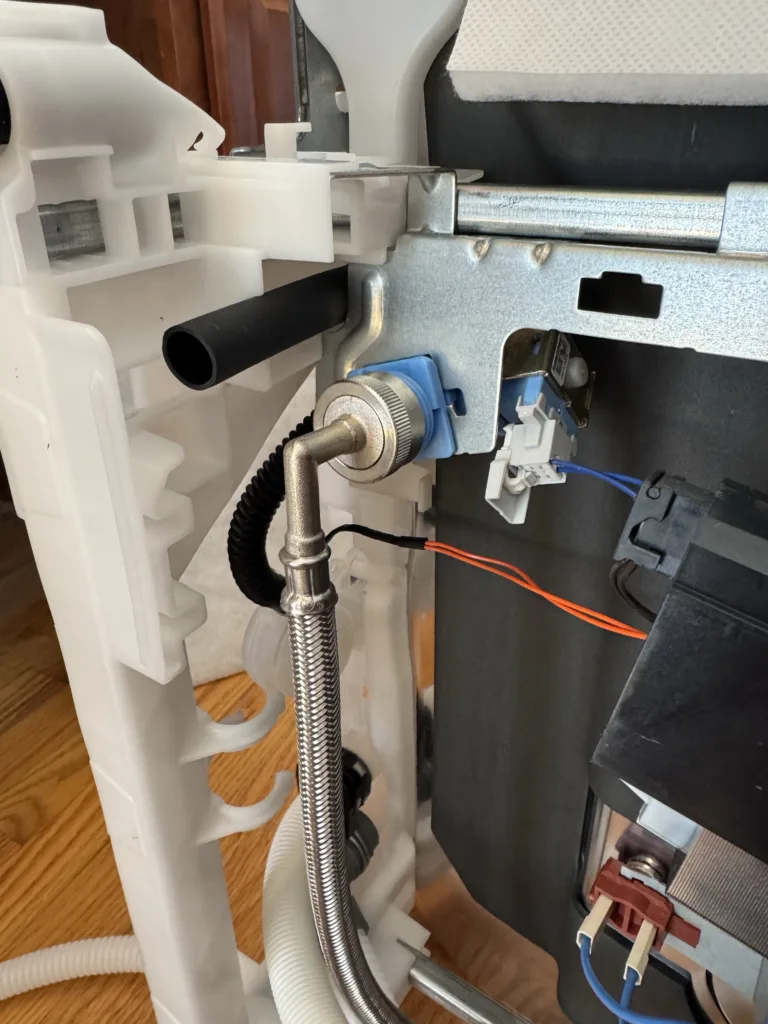
When our previous dishwasher was installed in 2021, the installer added a water hammer arrester to the water line—bringing it up to code in Massachusetts. That’s now required for dishwashers, washing machines, or any appliance with a fast-closing valve (see page 80 of the code). Since it had only been a few years, I was confident that no plumbing changes were needed.
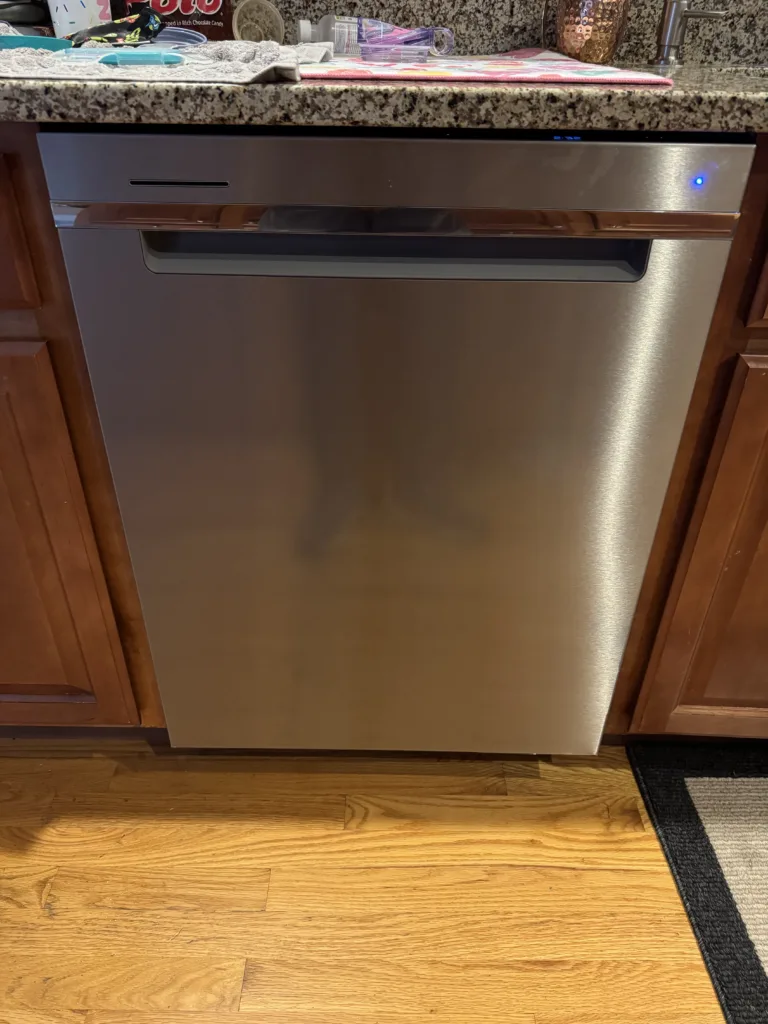
New Dishwasher Installation
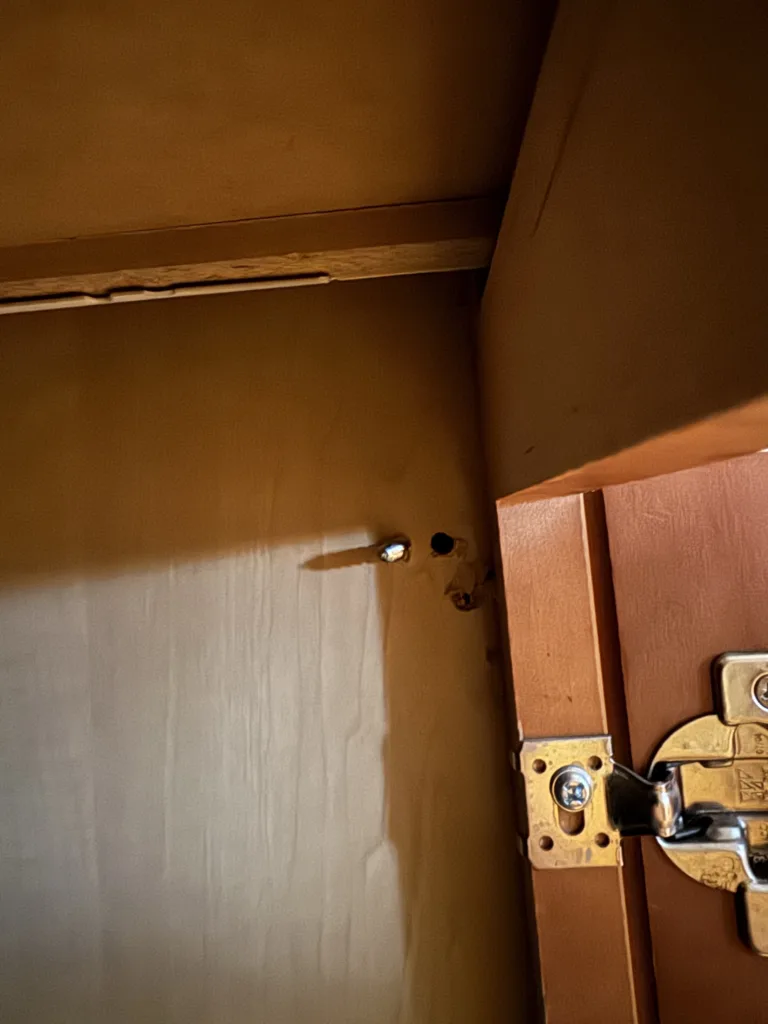
The install went smoothly overall. The trickiest part wasn’t even the plumbing—it was the cabinetry. This is at least the third dishwasher that’s been installed in this spot. The screw holes for the mounting brackets lined up perfectly with the old ones, which meant there was nothing solid left to bite into. I ended up pushing the unit about 1/4″ farther back and driving the screws in at an angle, just to avoid the stripped holes. I also had to swap out the supplied screws with slightly longer ones.
I was pretty happy with how snugly I was able to fit the unit. When the previous dishwasher was installed, there was a noticeable 1″–1.5″ gap between the top of the door and the underside of the countertop. I don’t think the installer bothered adjusting the leveling feet. This time, I made sure to raise it properly, and I much prefer not being able to see under the countertop.
Things I learned
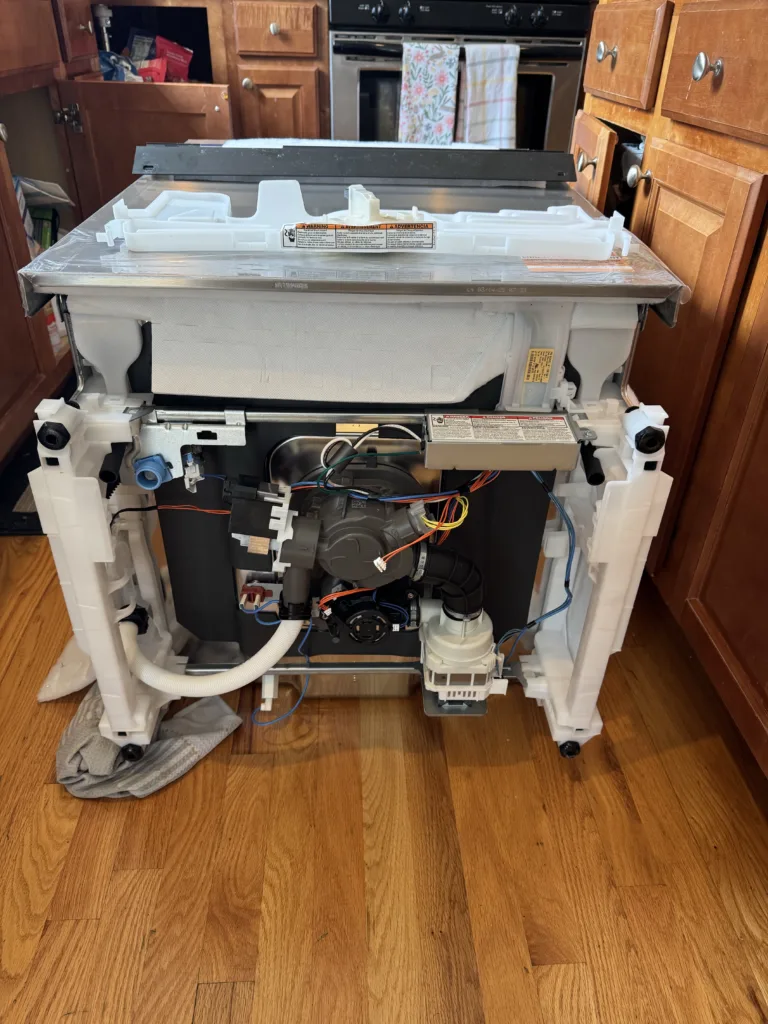
- Dishwashers are flimsier than I expected. A lot of the components underneath are plastic and feel pretty cheap. But once everything’s installed and out of sight, I guess it doesn’t really matter.
- Some water inside a new dishwasher is normal. At first, I thought I had received a used unit because it was leaking quite a bit when I unboxed it and laid it down. Turns out, every unit is factory-tested with water before shipping, and a small amount can remain inside. It’s totally normal for a bit to leak out if it’s been tilted.
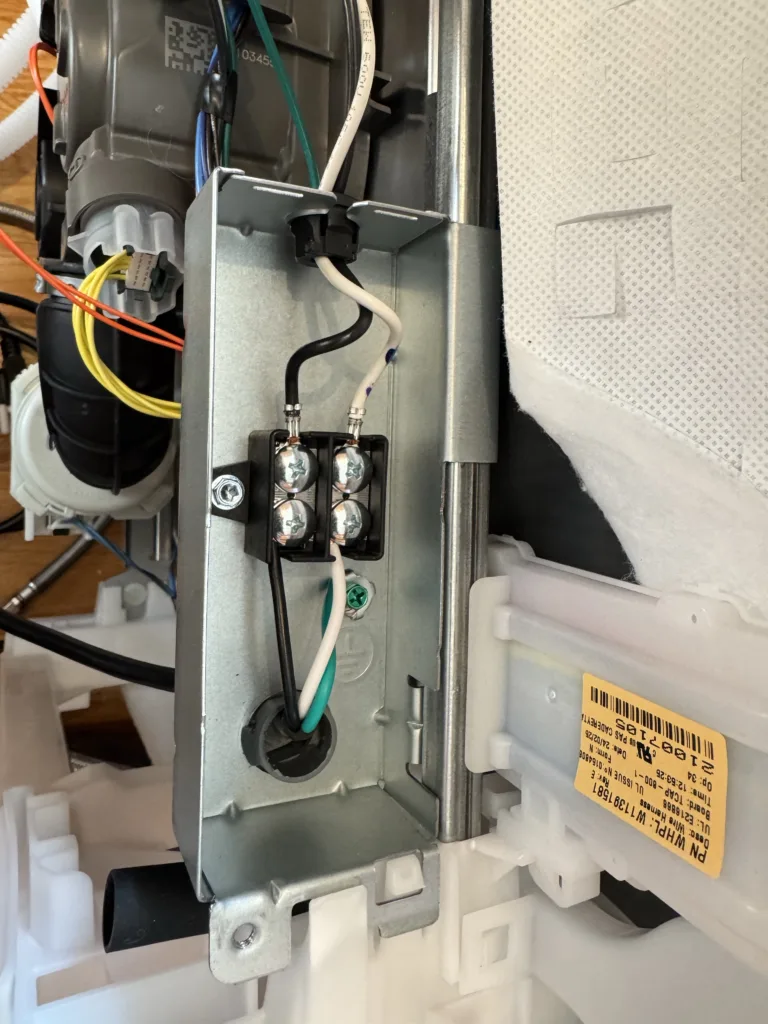
- I’m getting more comfortable working with electrical. In addition to wiring the dishwasher, I’ve also installed a ceiling fan. I’ve got a few outdoor light fixtures that are either loose or rusting, and I think I’ll tackle those this summer.
Raised Garden Beds
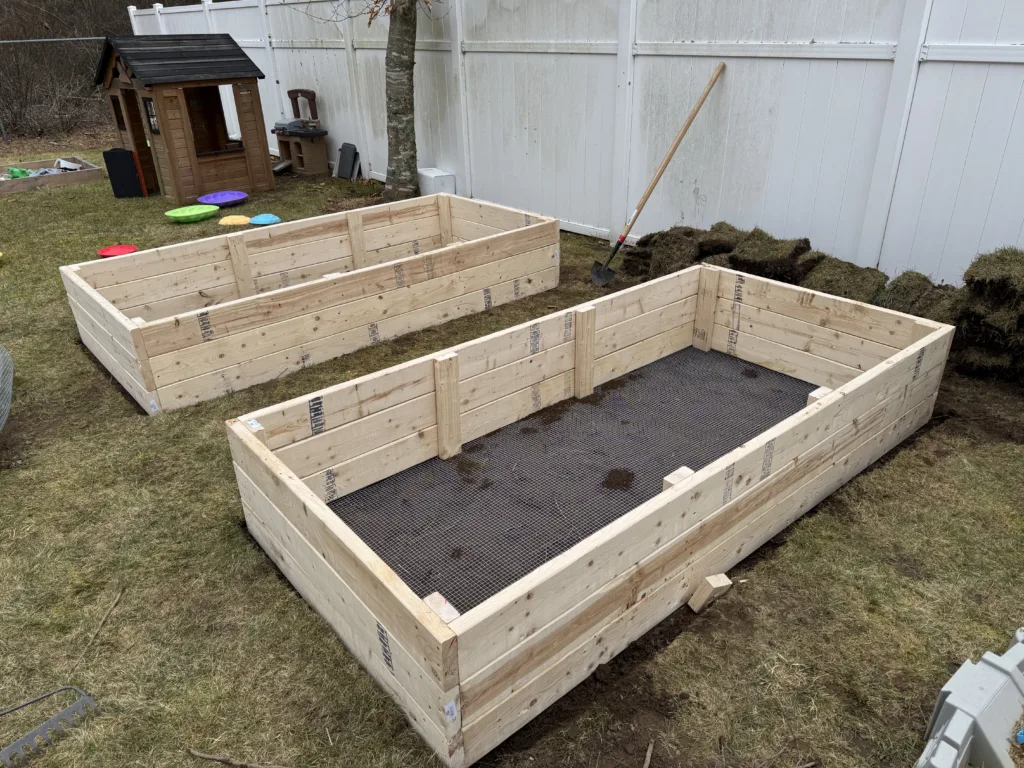
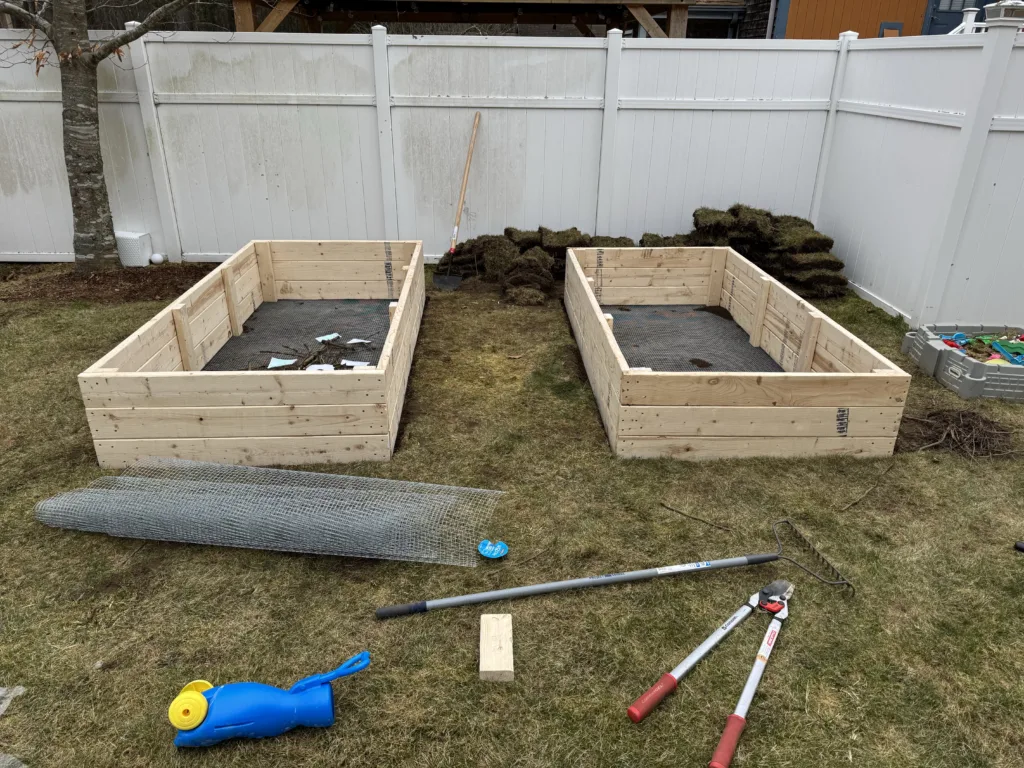
The next project was building some raised garden beds to plant vegetables. I was completely starting from scratch for this one. We decided on two 4’x8′ beds using three 2″x6″ boards stacked. This helped minimize the number of cuts required. The sides were full boards, and the ends just required 6 boards to be cut in half.
I debated laying a board across the middle to help prevent any bowing from the weight of the dirt. But instead I placed two vertical 2″x4″ boards on each side. With the height of the three boards combined, a 2″x4″x8′ piece yielded 6 of these. There wasn’t enough to get the the miter saw off the shelf and set up (I still need to build my miter cart), so I just used my circular saw for everything.
I opted for using standard grade dimensional lumber instead of something more moisture resistant like cedar to save some money. If we can get at least 2-3 years out of these, I think that’s acceptable. We get a lot of rabbits, mice, etc.. So I decided to include mesh on the bottom to prevent anything from digging up into the garden from below.
Things I learned
- Apparently 2″x4″x8′ lumber is not always exactly 8 foot. When I got home, I realized everything was 92-5/8″. After some Googling, I learned that sometimes lumber sold for studs is cut to this length as a courtesy. This length ensures that walls measure exactly 96″ (8 feet) when combined with a sole plate, two top plates, and a ceiling. It wasn’t a huge deal, but the beds ended up 1 11/16″ short of 4′ wide.
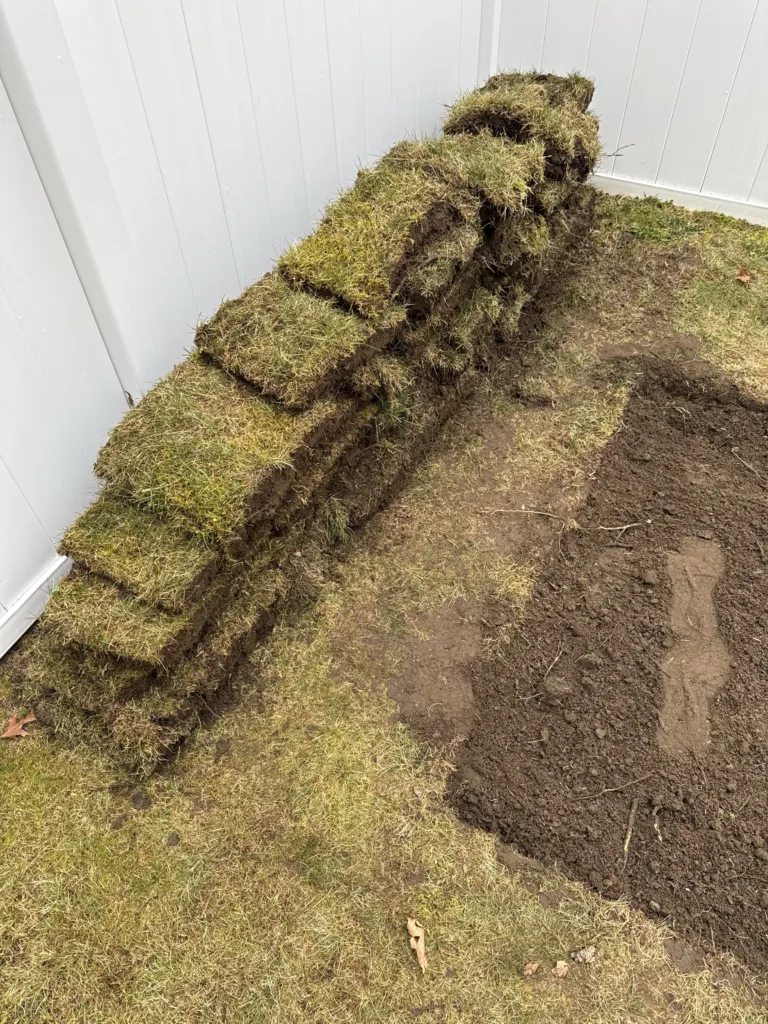
- It seems that when placed upside down at least 6″-8″ deep, you can use sod for composting! By placing it upside down you smother the grass. I’ll use some of the sod to line the bottom of the bed before filling it with loam and garden soil.
- While I was able to load everything into the CR-V, it would be so much more convenient to have a truck. I think I’ve decided that will be my next vehicle.
- I really need to clean my vinyl fence. Add that to the ever-growing list. ✍️
Next Projects
This week I plan on getting some loam delivered to fill the beds half way and to raise/level off an area in my front yard that collects water when it rains a lot. After that, it’s getting some bags of garden soil and manure from the store, and it’s planting time!
Leave a Reply